8 steps to the perfect at-home manicure
For me, a manicure should be as much about treating yourself to some TLC, as it is the end result. Ideally, do set some time aside to enjoy the experience, rather than trying to squeeze it in between work and household chores.
- Start by removing any existing nail polish, using an acetone-free remover.
- When it comes to shaping your nails, it is quite easy to damage them, so it’s best to clip them first, then file gently in one direction to smooth any jagged edges.
- Buff the nail to soften any ridges.
- Lightly exfoliate your hands. Ideally it’s best to use a gentle scrub, but you could just opt for a muslin cloth with some cleanser.
- Soak your nails for a couple of minutes in some warm water. This helps to soften the cuticles and cleanse the nail ready for polish.
- Gently push your cuticles back.
- Apply your base coat, followed by two coats of your chosen colour and your top coat. Do leave time for each coat to dry in between.
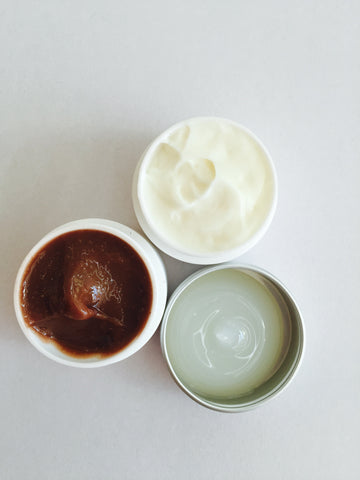
- Once your nails are completely dry, work in a nourishing hand cream. Mine contains bees wax and oat oil to hydrate and protect your skin. If you don’t have a hand cream or body lotion to hand (pardon the pun), use a fruit or seed oil, such as olive oil. My Heel Balm is also a good alternative, particularly if your hands are very dry or cracked.
To keep your hands looking and feeling their best, it’s really important to take care of them every day. Avoid harsh hand soaps that contain Sodium Lauryl Sulphate, as they’ll strip your hands of their natural oils. Akamuti soaps are lovely and gentle, as are the ones from Love Lula. Washing up liquid and other household cleaning products can also irritate your skin, so it’s best to stick to more natural brands, such as Splosh and Greenscents, or wear gloves while cleaning.


